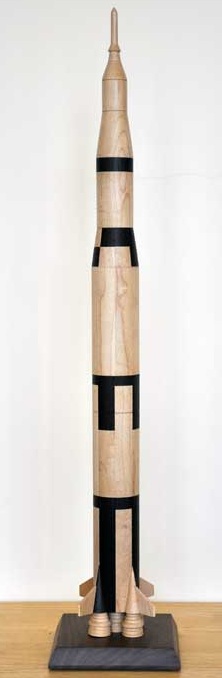
MAKING A SATURN V-STYLE ROCKET
Introduction
This rocket uses staved construction to create the striped sections. Accurate and precise measurment and shaping are crucial. Also, while this model is not to exact scale, researching the proportions is important for making a reasonable likeness to the Apollo version of the Saturn V.
Woodworking is an inherently dangerous activity. The non-woodworking techniques described here aren't all that safe, either. Sharp tools, powerful motors, big lumps of wood, chemicals, fumes, etc. can cause you serious bodily injury or even death. These pages are NOT meant as a substitute for instruction by a qualified teacher, just as an illustration of how I do certain things. I take no responsibility for any mishaps you may experience during a fit of inspiration. You've been warned.
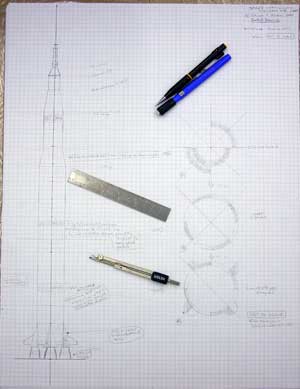
Photo 1
Since the Saturn V is an actual rocket, I started by researching the size and markings for the Apollo-configured Saturn V. I used a variety of sources, including NASA's website, Boeing's website, and several books that had pictures of the Apollo launches. From there, I made a series of drawings that I could annotate with measurements and construction notes.
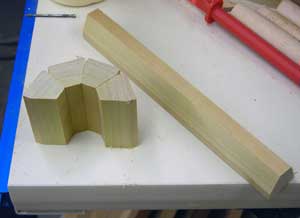
Photo 2
I also did a series of test cuts to see whether I would use my table saw or my router to create the staves for the striped sections. In this case, I opted for the router.
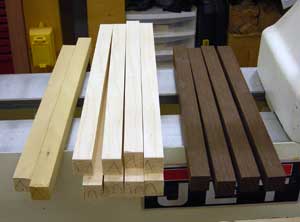
Photo 3
I chose maple (light sections) and wenge (dark sections) as the species for the rocket components. I also made two test blanks (far left) from poplar so I could experiment with equipment set-ups on them instead of on the actual project pieces. It's important to cut everything at the same time so the stave widths are identical. If the widths are off, the stripes won't look right when they're turned.
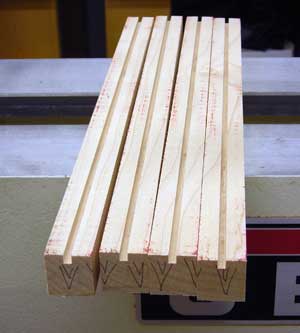
Photo 4
Making the stripes means joining end-grain to end-grain between the maple and wenge pieces. While this shouldn't be a problem in the finished rocket, I still needed to machine the staves on the router, and I was concerned that the joint might not hold up. I opted to reinforce the staves by cutting a 1/8" wide groove down the exact center of each stave (maple and wenge) -
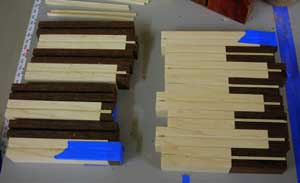
Photo 5
- and glued in a narrow strip of 1/8" plywood while creating the striped staves. Note that the reinforcing strip also helped to keep the maple and wenge pieces aligned during the glue-up.
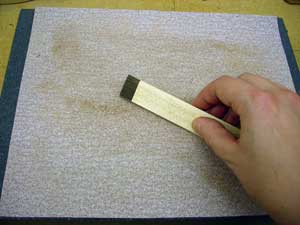
Photo 6
After cutting the stave angle on the router table, I cleaned up the cut faces by taping a sheet of sandpaper to a granite plate. These special plates are milled to be extremely flat, which is exactly what I want so my glue surface will also be flat.
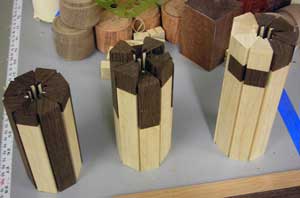
Photo 7
This is a dry-fit before starting to glue up the striped sections.
Note that the staves are not all the same height. Some of the wenge pieces are very short in the finished piece, so I opted to leave them long during the cutting and glue-up stage. After the glue-up, I cut everything back to the correct length.
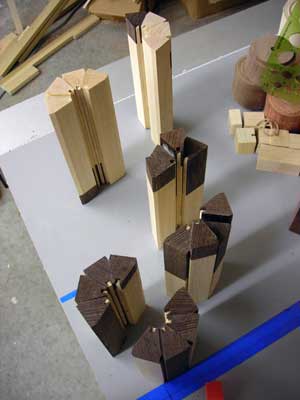
Photo 8
I did the glue-up in halves (sorry for the vertigo view!) -
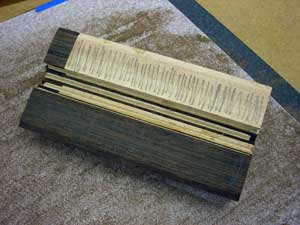
Photo 9
- and then sanded the two halves flat before doing the final glue-up. Note the pencil scribbles on the faces to be sanded.
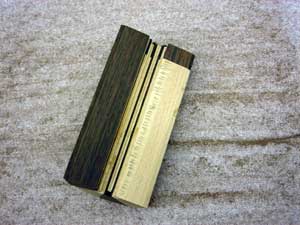
Photo 10
As I sand, the pencil marks are worn away and I can tell how far I am from "flatness".
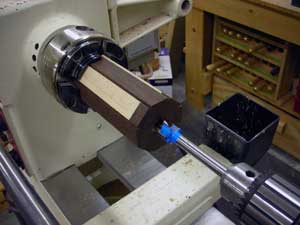
Photo 11
After the two halves have been glued up and the glue has cured, I mounted the bottom striped section in the chuck and drilled out a 3/4" hole for a tenon that will join this section to the next one. After drilling, I squared up the end of the blank with a flat sanding block.
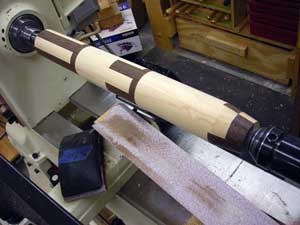
Photo 12
Turning in progress.
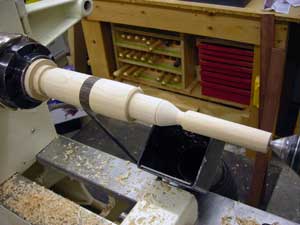
Photo 13
The top section is not staved but made from solid wood. The end-grain joints between the maple and the wenge stripe are reinforced with a dowel through the center.
I turned the top section in stages, working from large end to small end and using the tailstock to support the long overhang.
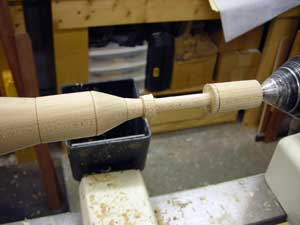
Photo 14
In this case, I'm leaving the struts that would normally join the Launch Escape System to the Command Module as a solid mass. You could probably do something with carving if you were so inclined, but the connection would be very fragile at this scale.
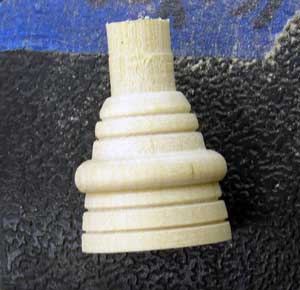
Photo 15
One of the five engines. The tenon on top fits into a hole in the base of the rocket.
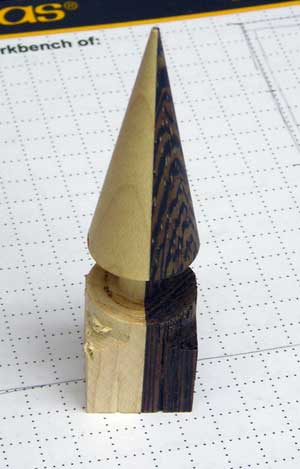
Photo 16
One of the four engine covers that mount to the surface of the rocket base. Joining these to the rocket involved making a flat area on one side of the cover and a corresponding one on the side of the rocket. I left the engine cover attached to the waste block so I could hold onto that while sanding the flat area on the belt sander.
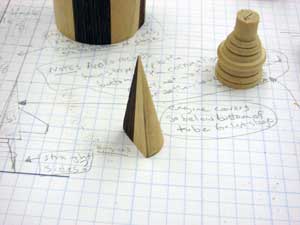
Photo 17
This is what the engine covers look like after making the flat area and cutting off the waste block.
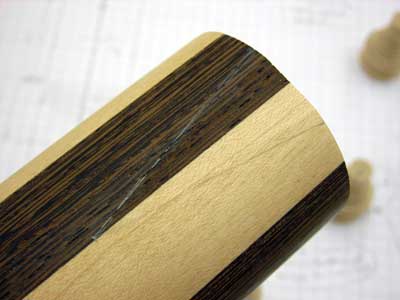
Photo 18
I marked off the area to be removed on the rocket based on the final shape of the engine cover. I used a very sharp chisel to remove the bulk of the material, then sandpaper and a small, flat block to remove the rest back to the lines.
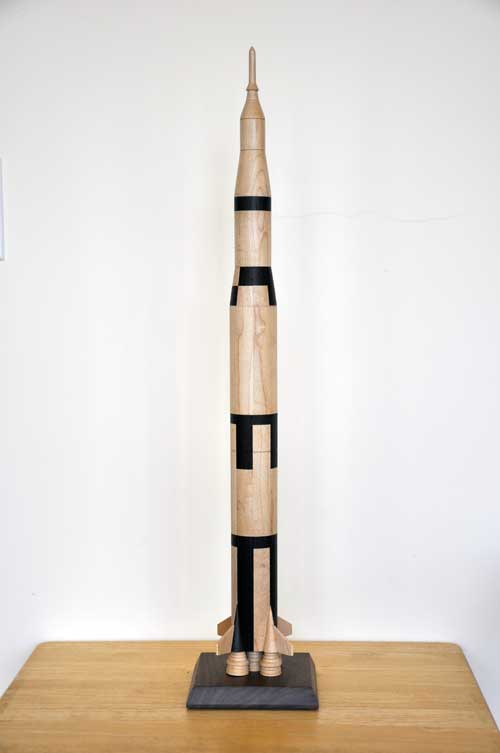
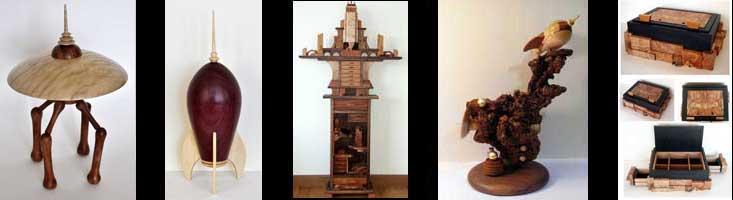
Saturn V style rocket (2009)
Wenge, maple, birch and walnut. Approximately 24" H.